


Last year I saw similar thing in one store, and I decided to make my own. My philosophy is why buy when you can make it :D. They are really nice and unique gift. If noting, you made it and I'm sure people would appreciate the effort :).
In this post I will try to explain the procedure in very detailed way. So, this is gonna be rather long post :).
I know, you're thinking: why in hell didn't she just do a video and post it on YT. Belive me, I would if I could.
Anyway, I hope you like it, and find it helpful.
All materials were bought in local art supply shop and fabrics store.
Materials:

- styrofoam ball: 6 centimeter/2.4" in diameter
- satin ribbon: 2.5 cm/1" wide; 3 meter/approx 10 ft long
- satin ribbon: 0.5 cm/0.2" wide; 0.5m/approx 1,7 ft long
- beads
Tools:

- hot glue gun
- glue
- scissors
- measuring tape, ruler
- sewing machine/needle and thread
Optional:

- glitter
- transparent textile glue
- glitter glue
- brush
- glitter hairspray
Let's get started.
Cut wide ribbon in four 10 cm/4" long pieces. Cut the rest of the ribbon in 6.5 cm/2.6" long pieces. You don't have to be too precise, but try to be as precise as posible.

Connect the ends of the smaller pieces (6 cm / 2.6") to make loops. I sewn them together usine sewing machine, but you can use needle and tread. It doesn't need to be perfect, they just need to be connected.

You can use hot glue (middle), but it takes long time (I did that with my first ball :D).
Here comes the fun part :).
Aply small amount of glue on the bottom of the ball and place the longer piece of the ribbon (10cm/4" long) in the center. To avoid those glue strings that you get, after applying glue, gently press the tip of the glue gun to the ball surface.
Now add small amount of glue and attach the ends of the ribbon. Pull the end of the ribbon and smooth it, so it adheres to the ball tightly. Tighten the ends and glue them.

Make sure that you don't use too much glue, or is't to hot, cause you can burn yourself. Also, if the glue is too hot, it melts the styrofoam and you get holes. That isn't such a problem since loops cover everything.
Do the same with the rest od the pieces, placing second piece verticaly to first, and last two pieces should be rotated 45° in regard to first two. You must cover all the styrofoam.

Now you made the bottom of the ball.

Now you made the bottom of the ball.


Movin' on. Select a spot where you gonna start adding loops. Use a small amount of glue and just glue one end of the loop. Make sure only the top (sewn part) is attached to the ball and the rest of the loop is free.

Place the second loop to owerlap the first. And do the whole circle.


The loop on the right is the last one, and one od the left is the fist, free corner is visible.

Start the second row by placing the first loop in the middle of the bottom two and continue as before. Do the same for all rows. You should have 5 rows.


Start the second row by placing the first loop in the middle of the bottom two and continue as before. Do the same for all rows. You should have 5 rows.


Last row (fifth) is made little differently. Before you glue the loop, crimp it. You can sew it to make life easier :).


Place the completed ball on a flat surface and with the tip of the scissors make a small hole.
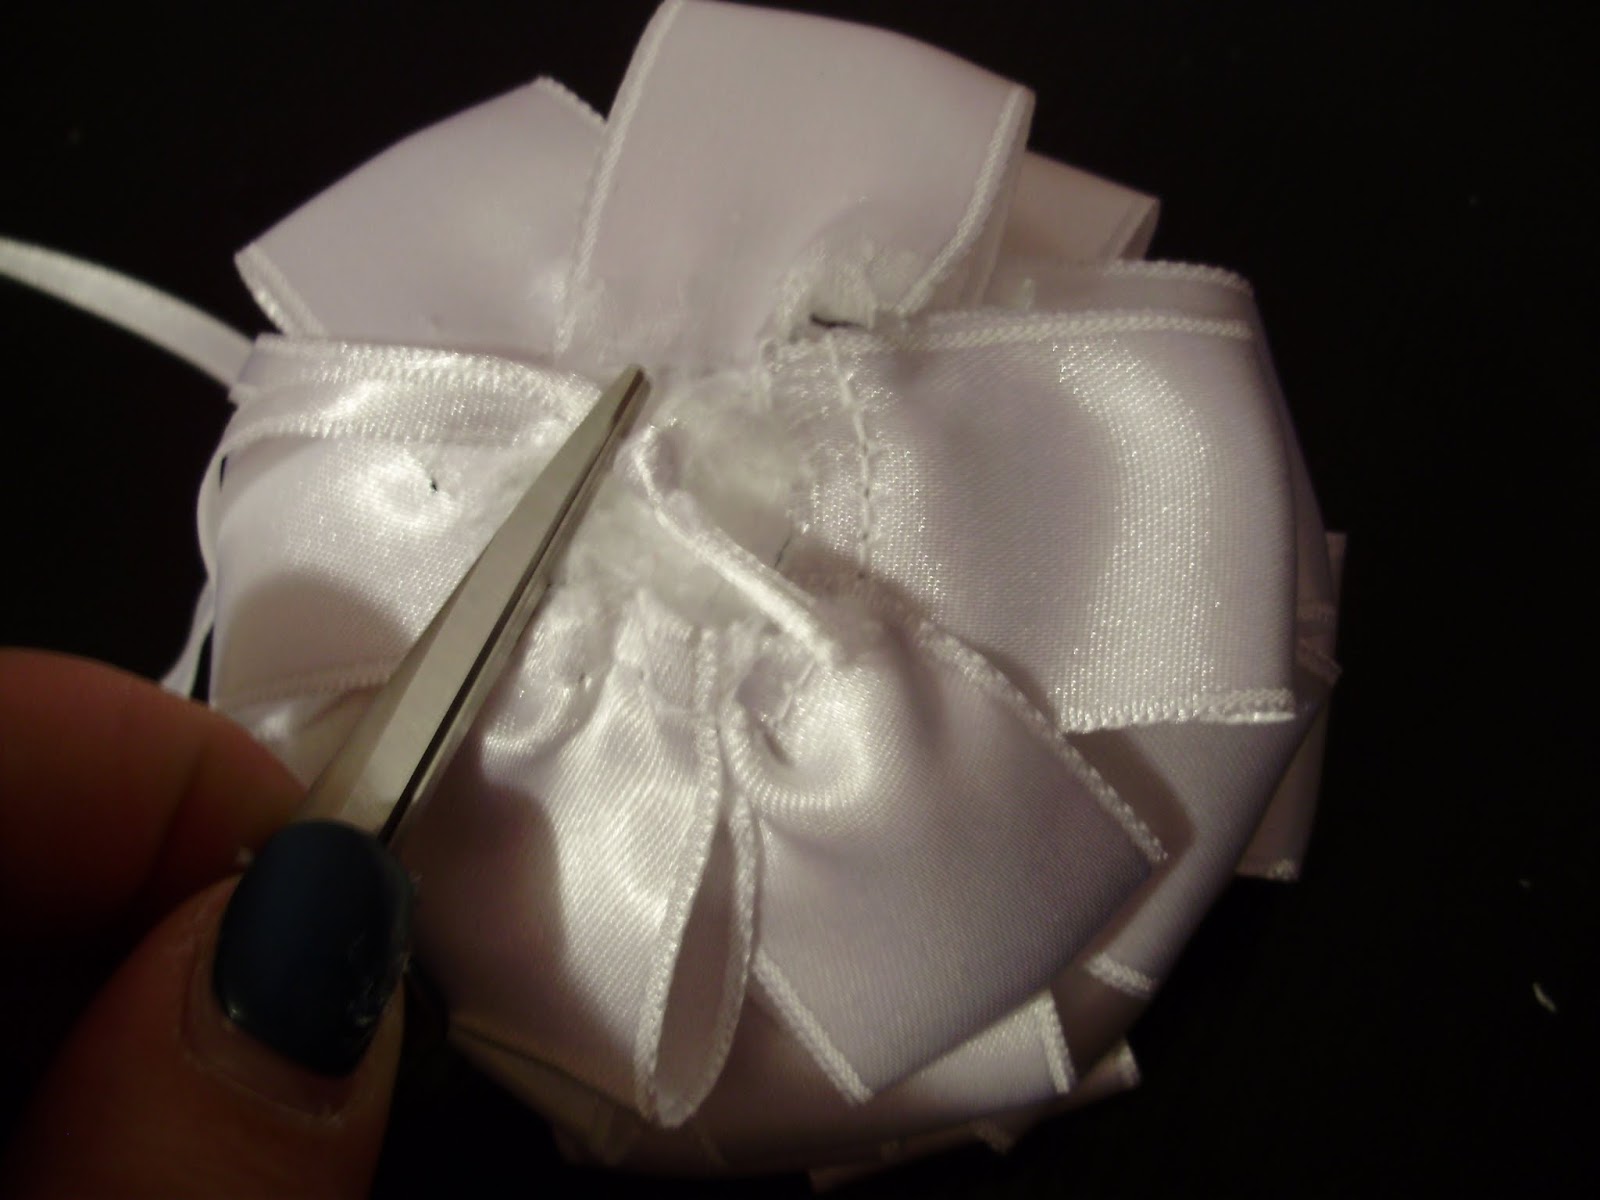

Fold the narrow ribbon in half and tide the ends in knot. Using scissors push the knot the in the hole. Secure with some glue.


Attach beads to cover any thread showing.

Your satin ball ornament is done. Now how hard was that :D.

If you wish, you can add more to your ball.


Check out the rest here

If you wish, you can add more to your ball.
Mix glitter powder and glue and with a brush dab it on the ball. Or you can use glitter glue and dab it with a brush. Or you can just spray it lightly whith glitter hair spray.


Leave it to dry well.


Check out the rest here
I apologize for the quality of some pics. They were all taken in different time of day/night and at different lighting.
No comments:
Post a Comment